Welcome back to another process post! Let's get started.

We start with a layer of frit (small pieces of glass) in fire colors. Each of the elemental bubble designs has a different color scheme, so these varied for each design. I'm using the fire color scheme in this post because I think it's the most interesting.
You may notice that the colors of this aren't the same as in the background of the final image. That's because some of the glass is what's called a "striker"; a lot of reds and oranges in glass don't reach their final color until they've been fired and appear a different color before that.

After that, I cover the colored frit with clear frit and then stick a bunch of pieces of murrine (handmade glass cane with patterns inside) up in the frit.

Now we're beginning to get the pattern we'll see in the final pieces.

After the slab cools, I cut it-- and 5 other slabs in other color schemes-- into pieces about 19mm. They're about 10mm thick to begin with.

These then go into the big kiln so they can all be fired at once. Usually I just use my little kiln for this kind of thing, but my mom is a potter who lets me use her big one for big batches.

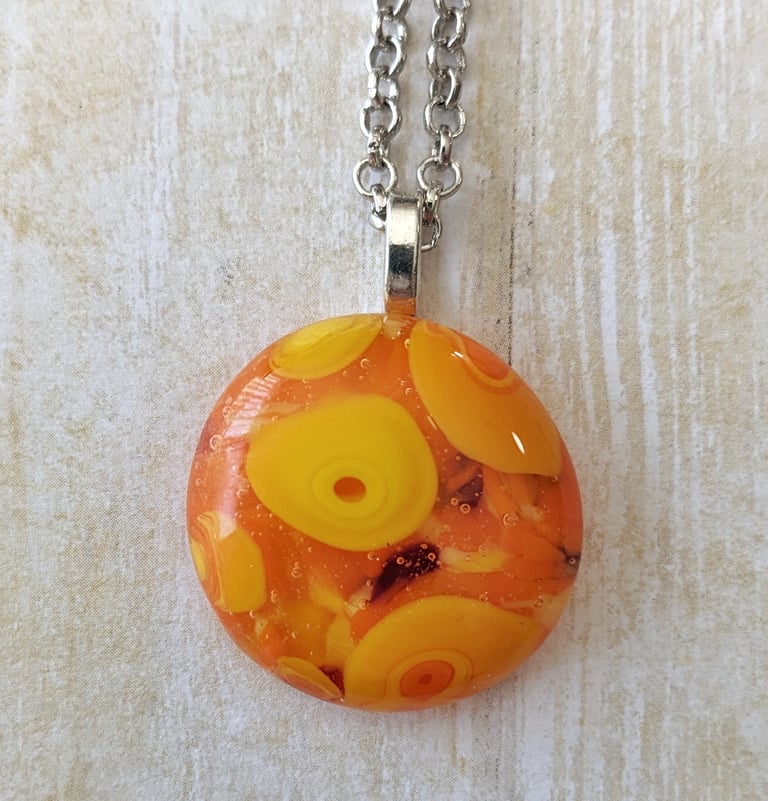
As you can see, the pieces then round out.

The process creates interesting distortions in the final piece and a layered effect with bubbles. At the end, I attach a bail with jewelry adhesive and a chain. Then it's ready!